The Structure
How we built our home.
This construction project, from the very beginning, was a family project. There were no architects, engineers, or contractors on this job, just me, my wife and three children.
We designed, engineered, produced and built everything you will see on this site. The quality of the final product is unmatched anywhere. Structurally, it is incredibly overbuilt, and, after 18 years and tens of thousands of man-hours, it is still a work in progress!
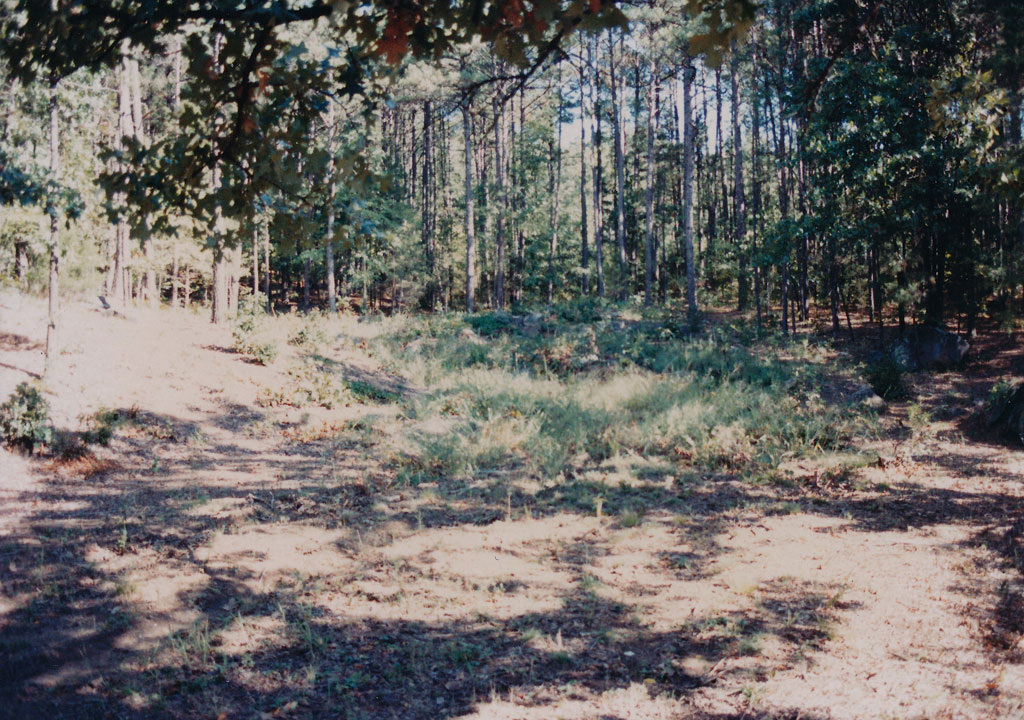
The Building Site
A heavily wooded hillside served as the backdrop for our dream project. Toward the south end of the property was the only reasonably “flat” area on which we could even consider building. And even that section of ground dropped nearly 30 feet, on a 25 % grade. Our solution was to accurately survey the land, calculate cubic yardage of soil involved, and plan our excavation to remove the appropriate amount of material. A few mathematical equations later, a final plan emerged that dictated the depth of excavation required to create a stockpile that would be used eventually to cover our finished masterpiece to the depth we wanted.
Back to top
Excavation
Our excavation plan was a relatively simple one. We cut into the hillside on a very slight slope, removing rocks and boulders as they were uncovered. One large rock defied us. A track hoe with a hydraulic hammer was brought in to chip it away. Three days later, a section 20 feet tall, 25 feet wide, and nearly 40 feet long had been removed. (We never did find the bottom or the end of this giant monolith.) All of the removed material was stockpiled 100 feet away from the “hole” to be used later to cover our structure.
Back to top


Tilt-Up Wall Panels
After the hole was completely excavated, we knew exactly what our construction options would be. The next several years were spent in intensive design and engineering, working out all the details necessary to bring our idea into reality. With that information on paper, we could begin. Our chosen method of construction was to pour individual, steel reinforced, concrete panels. The panels would be 8 feet wide and 16 feet tall with 16 inches of overall thickness and 2500 linear feet of half inch rebar in each. Our custom made 5 piece concrete form was used over and over, each panel containing the necessary electrical or plumbing or structural characteristics uniquely suited for its location in the finished home.
Back to top
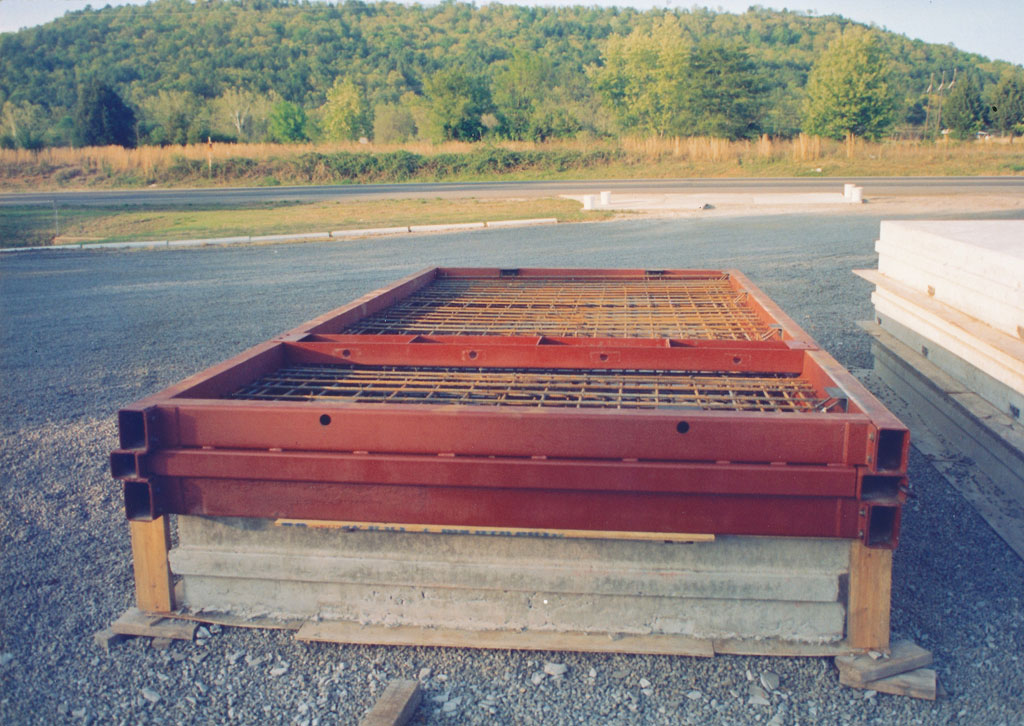
Wall Panels Stockpiled
All of the wall panels were actually cast off site a mile away, as we did not have enough level area to stage such a process close by. As the process began and continued, the red frame was bolted and carefully leveled. We could hold a 1/16th inch tolerance in size with this technique. The reinforcing steel was cut, bent, placed, and tied in preparation for concrete. As this was a family project, our young children learned to tie steel with twist ties as well as any professional out there.
Back to top

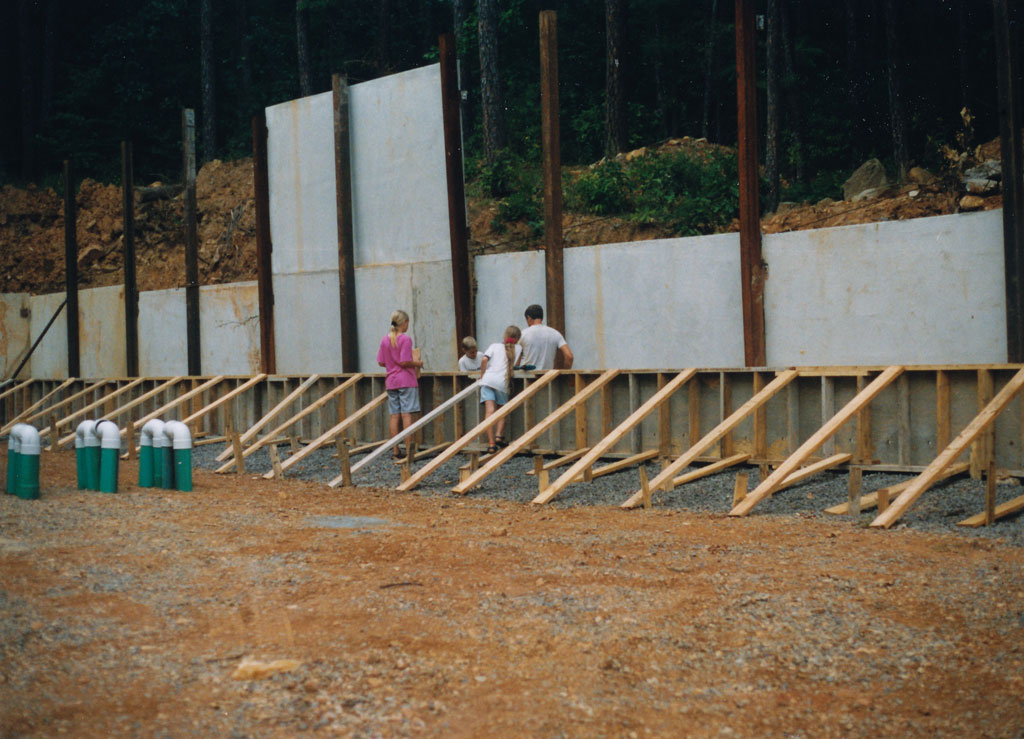
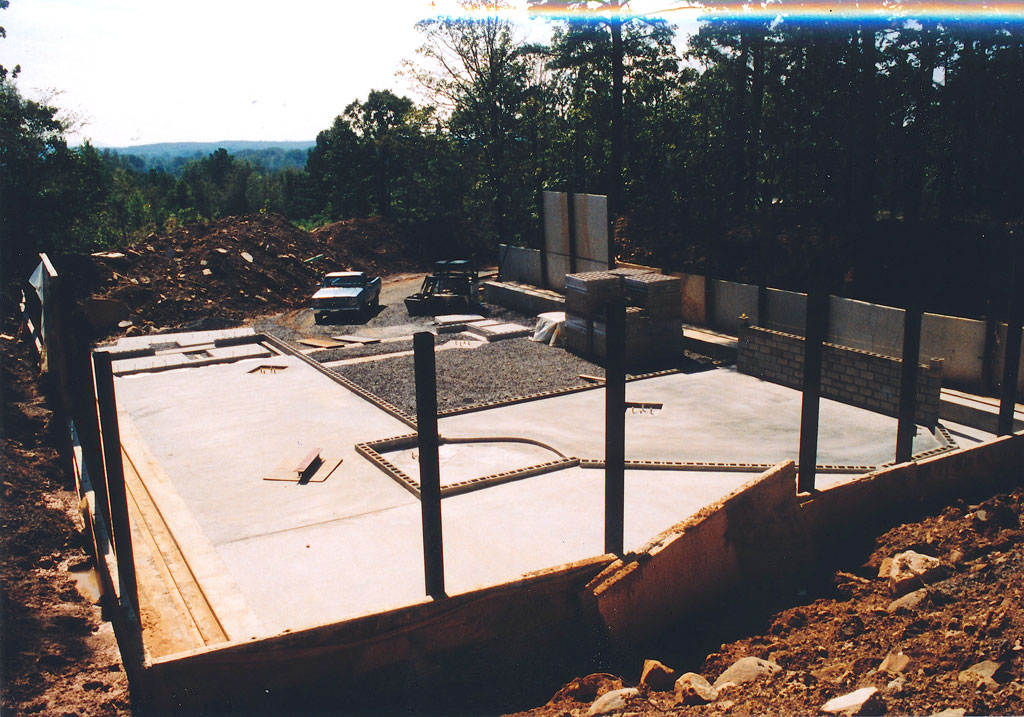
Final Site Preparation
Several years later, all of the tilt-up wall panels were completed. It was now time to make the job site safe and ready for construction to begin in earnest. Our initial excavation had resulted in a wall of dirt at the deep end that stood vertically nearly 21 feet high. Our solution was to build a set of permanently placed safety concrete panels to hold back any potential cave-ins of the dirt face. That wall would later serve a second function. Our plan was to place a 2 foot wide jacket of crushed gravel around our entire building, effectively eliminating any hydraulic pressure that might become a problem in the future. The entire construction area was then carefully graded with a slight slope to allow gravity to drain any accumulated water from under the building.
Back to top
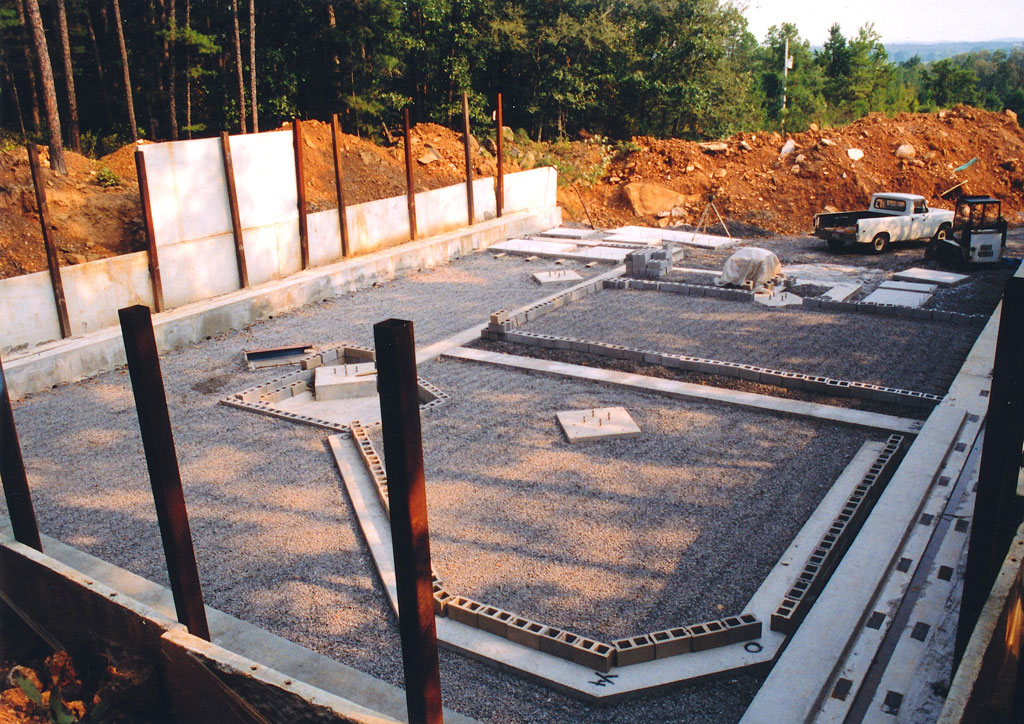
Foundation
One of the most critical facets of any subterranean structure is the foundation. Not only does it have to support the weight of an extensively engineered structure, but it must also be able to handle the weight of the dirt placed over the top of the house. The soil type that we found on our site was an extremely hard shale base, so hard that an ordinary backhoe could not cut into it. Above that base, the ground was a mixture of boulders and clay. That clay, thoroughly saturated with water, could become alarmingly mobile. A heavily reinforced concrete grade beam was our choice for a foundation. Not only would it support vertically, but horizontally as well. The thicknesses encountered in our foundation forms were calculated not in inches, but feet. And all the while, our finished foundation had to perfectly match the already poured walls, waiting a mile away for their day to come.
Back to top
Water Drainage
Excavating our building site exposed a potentially serious problem. We were the proud owners of a “wet weather” spring. Approximately 9 months out of the year, a steady stream of water filtered into our potential home sight. Draining that water, as well as water accumulating from regular rainfall, would require a concerted effort. Extensive use of crushed gravel, drain tiles, and careful grading of the underlying soil has proved an adequate solution. No pumps are required as gravity takes care of everything.
Back to top
Fresh Air
A house such as the one we had planned, was expected to be extremely “air tight”. With no windows, and only a few walk in doors (that are well sealed themselves), very little air seeps into the building. Our concern was that there might be a possibility of stale or stagnant air in our home. Also, any exhaust fans would need replacement air. We chose to cast 200 feet of concrete culvert and bury it 8 feet underground. One end rises up through the floor in the house near our heat pump air handler. The other end is exposed to outside air. Extensive grates and filters keep any unwanted visitors out, but fresh air has free movement into our house. A planned side effect of the air travelling through this long underground tunnel is that any air entering the house is preheated or precooled to ground temperature before it arrives in the home.
Back to top

Floors
All of the floors at the lower level are 9 inch thick concrete, heavily reinforced with rebar. We knew that a large crane would be needed to erect our structure, and that crane would have to be positioned inside the house. The extreme hillside surrounding the building site prohibited any large equipment around the perimeter. The overly thick, strong floors would allow the crane operators to rig their machinery anywhere they deemed best—without any risk of the floor cracking or failing.
Back to top
Walls and Roof
The many precast wall panels we had cast earlier were picked up and trucked to the building site one at a time. They were then picked up by a 100 ton crane and carefully concreted and welded into position. Delivery of a prestressed concrete roof system was coordinated so that the house was assembled from the back wall outwards. Repositioning of the crane several times resulted in the entire building finally completely assembled and welded together.
Back to top

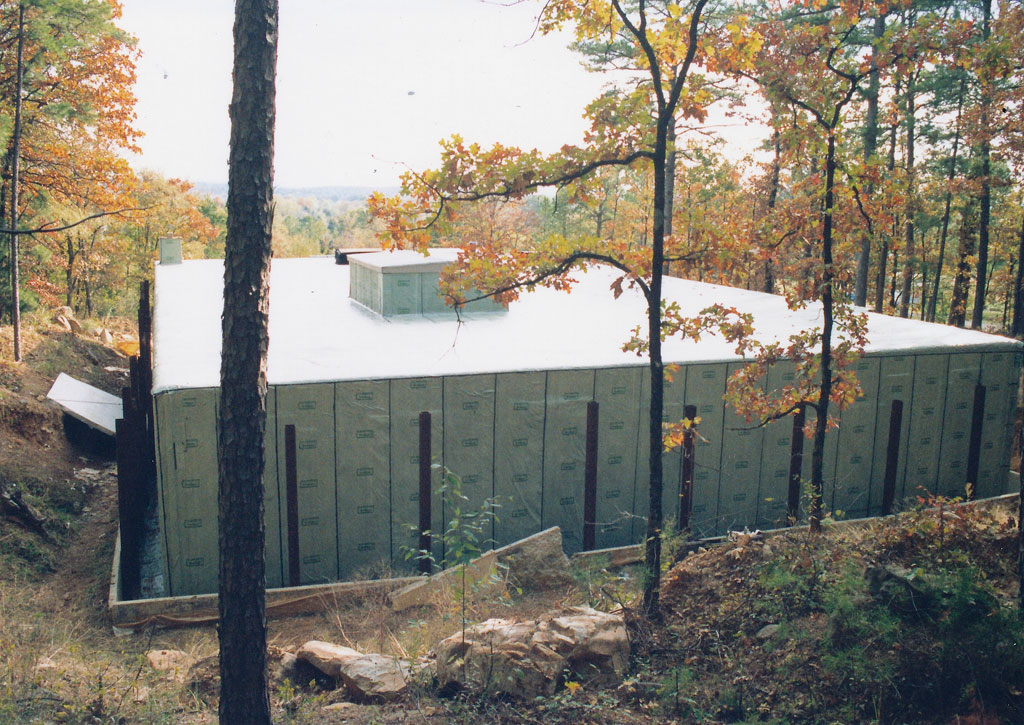
Waterproofing
Handling the moisture that is present underground is difficult at best. Knowing that fact required some research. We discovered that waterproofing and water vapor barriers are not necessarily the same thing. An expensive rolled membrane material, designed to not just stop water, but also water vapor, a much more sinister enemy to any underground home, was our choice to contain the potential problem. (It has worked amazingly well, by the way.)
Back to top
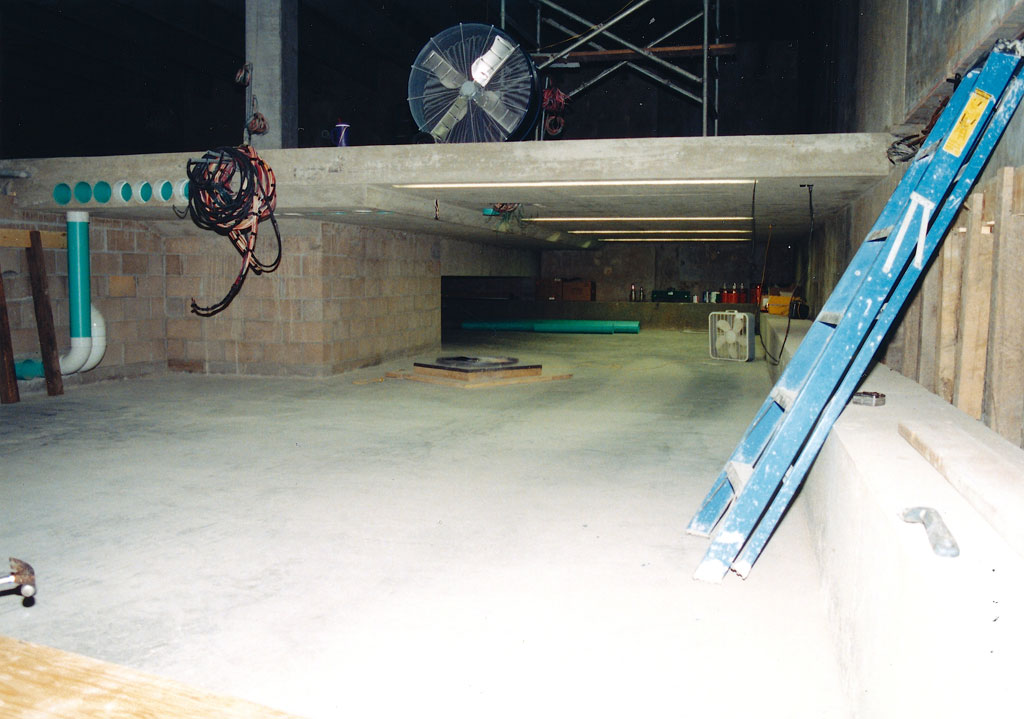
Suspended Interior Floors
One of the features of our house plans involved comparatively high ceilings for a subterranean home. With no windows, the look of spaciousness was a large factor in our planning process. From a waterproofing point of view, we wanted to keep the roof a single level surface that would shed the underground water well. 19 foot ceilings seemed like a nice idea in the main living area of the house, but not in the bedrooms. To create interest and character, we decided to vary the floor levels. All of the bedrooms in the home are built on an elevated level, and resulting space below is a mechanical and storage area. The raised floor was made of reinforced concrete, with all electrical, central vacuum, and duct work cast into the floor.
Back to top
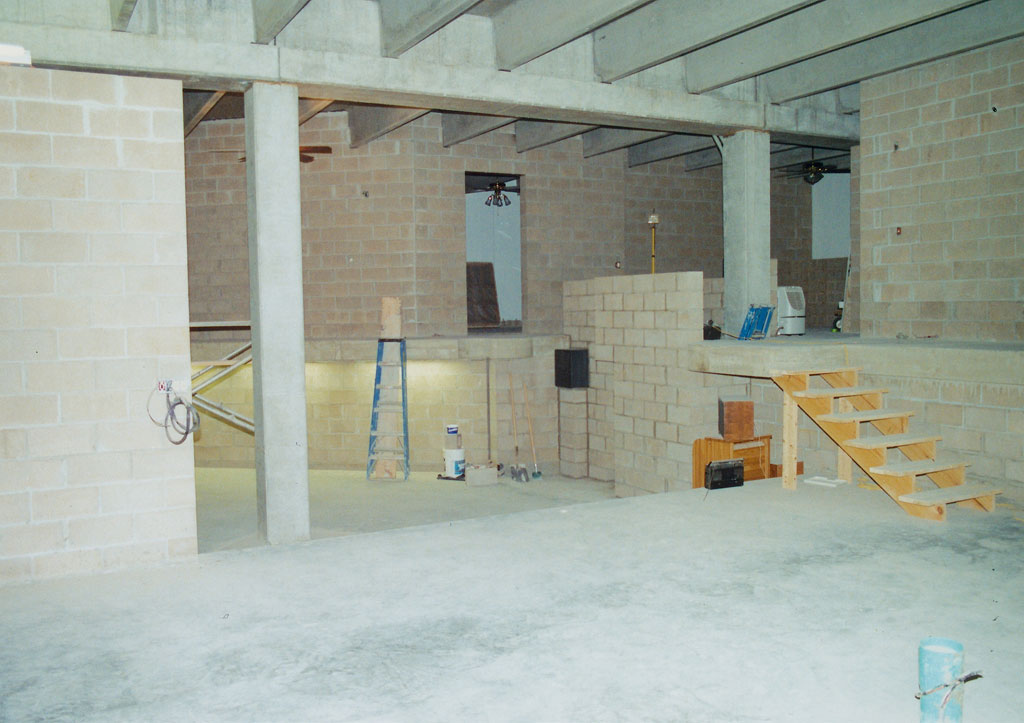
Interior Walls
A major consideration in our design process revolved around any possibility of fire. We settled on using standard 8 inch cement block walls throughout our home. They were then coated with stucco that was troweled into place and hand textured to a coarse finish. This also served to help deaden the sound and echo in the building, which was severe.
Back to top
Mechanical
Many things had to be addressed in this area long before we began construction. A concrete building, with many things cast into the walls and floors, required preplanning. Air conditioning ducts, bathroom vent fans, dryer vent, central vacuum system, and myriads of electrical circuits were routed carefully in the cast concrete, and cut into concrete block walls as they were laid up. All of these things were documented on paper and photographically for future reference, should the need arise.
Back to top
